
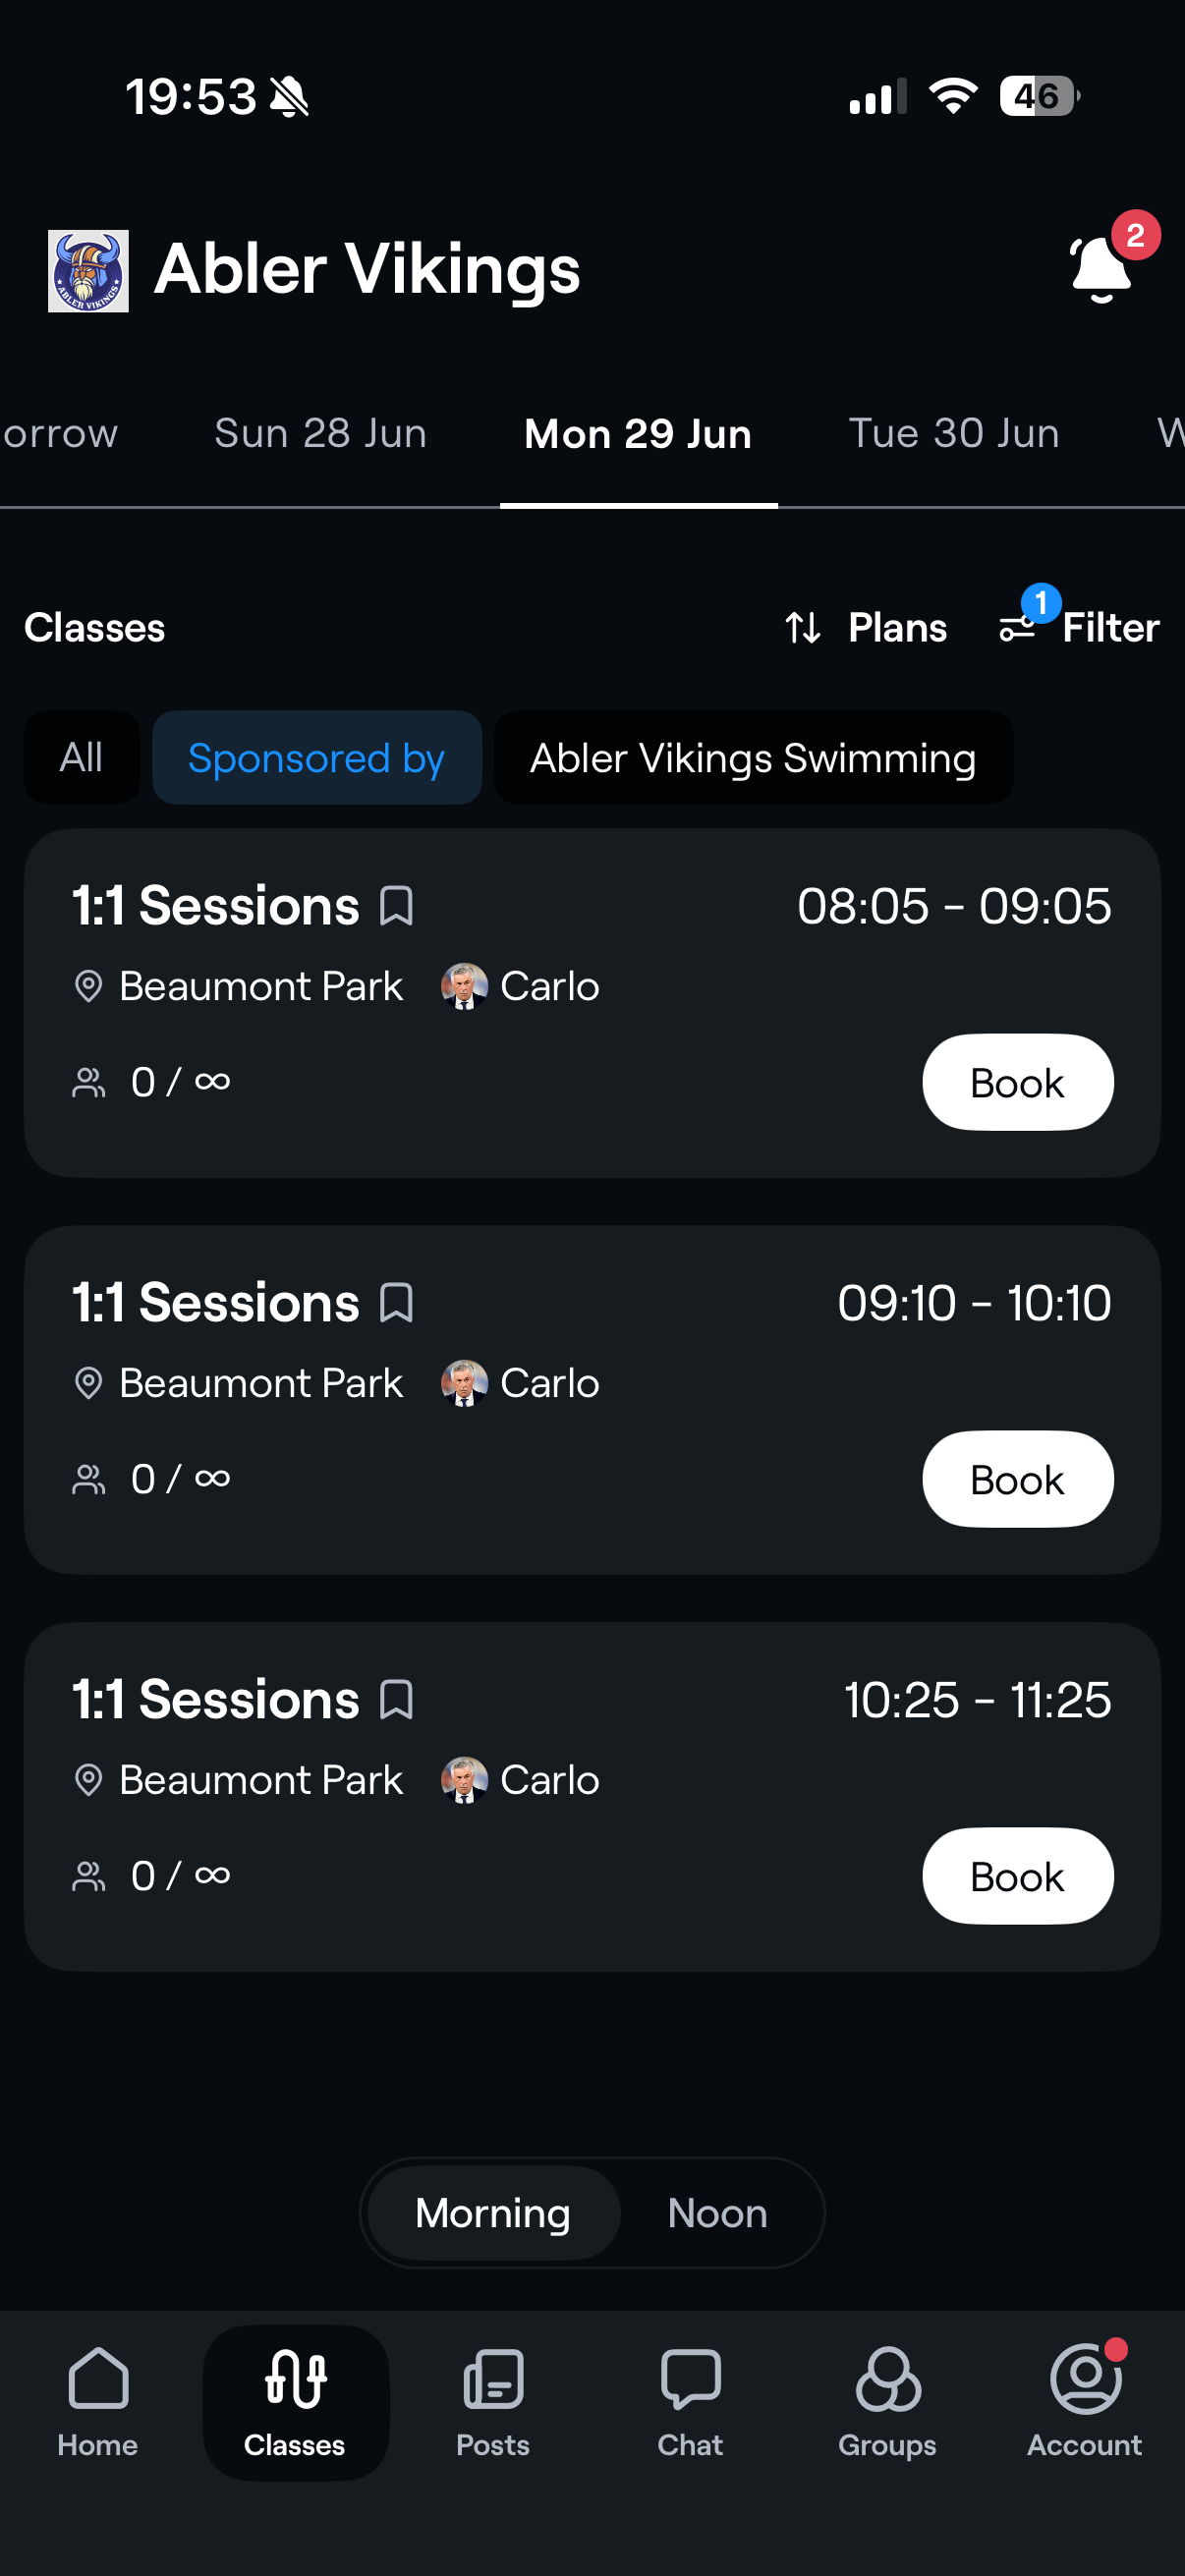
Creating a classes plan allows you to schedule sessions/classes that members can view and book directly through the Classes tab in the Abler app. For more information on how members book and cancel classes, see: How users book classes via the app
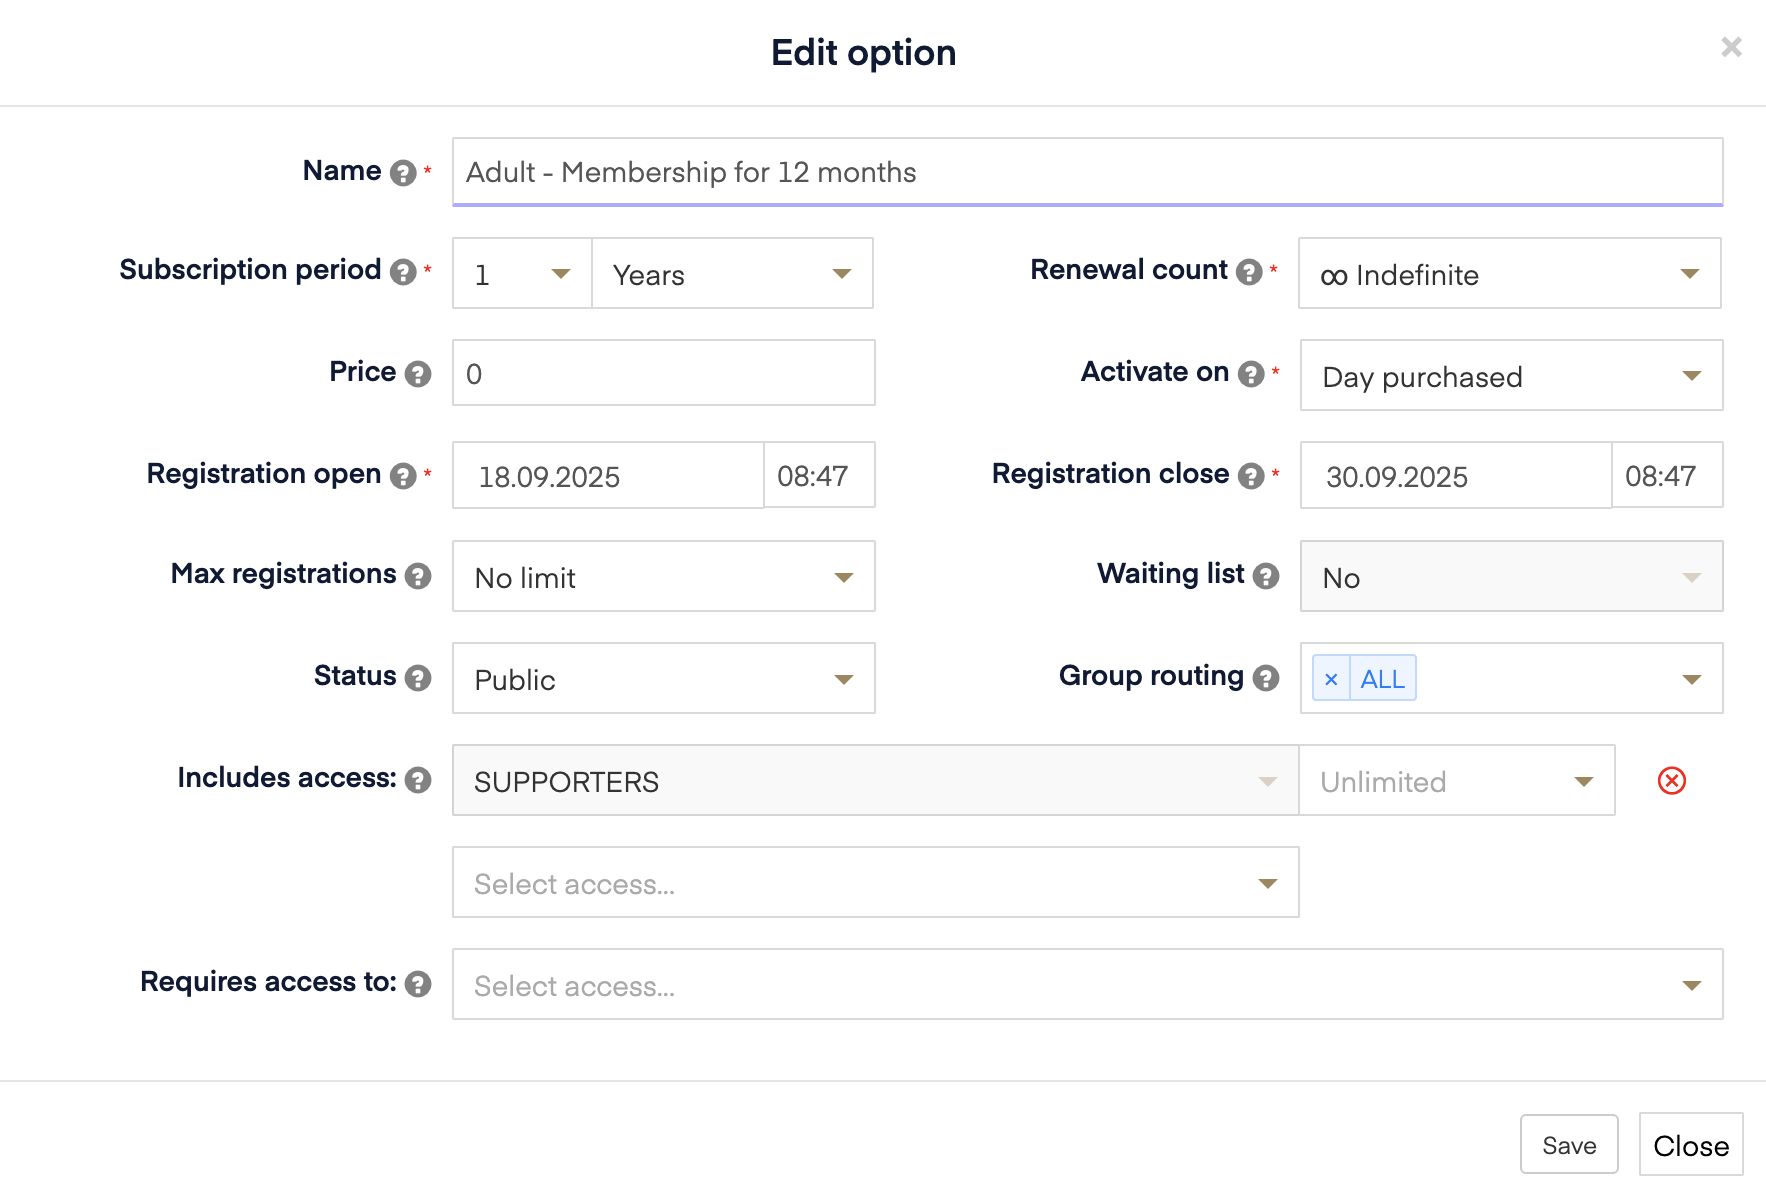
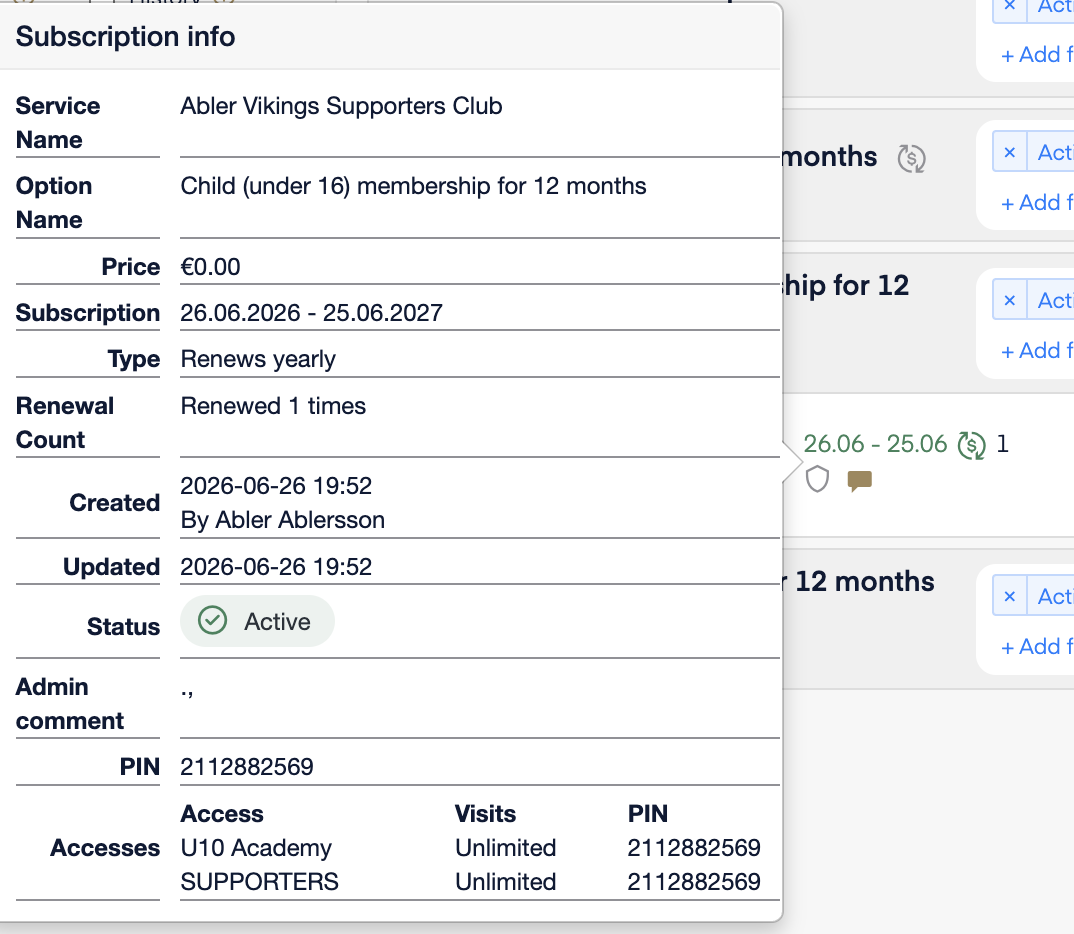
Before members can book a class, they must have access to it through an active registration. Access is configured on the registration in the Service Overview. Within the service, open Service Options and assign the appropriate class access.
When a member registers for that service, they automatically receive the class access linked to it. Only members with the required access will be able to view and book the associated classes in the Abler app.
Note: If you do not see the Classes tab in your platform, please contact abler@abler.io. Our team will help you enable and configure the feature so your organisation can start creating classes and accepting bookings through the Abler app.
Create a New Classes Plan
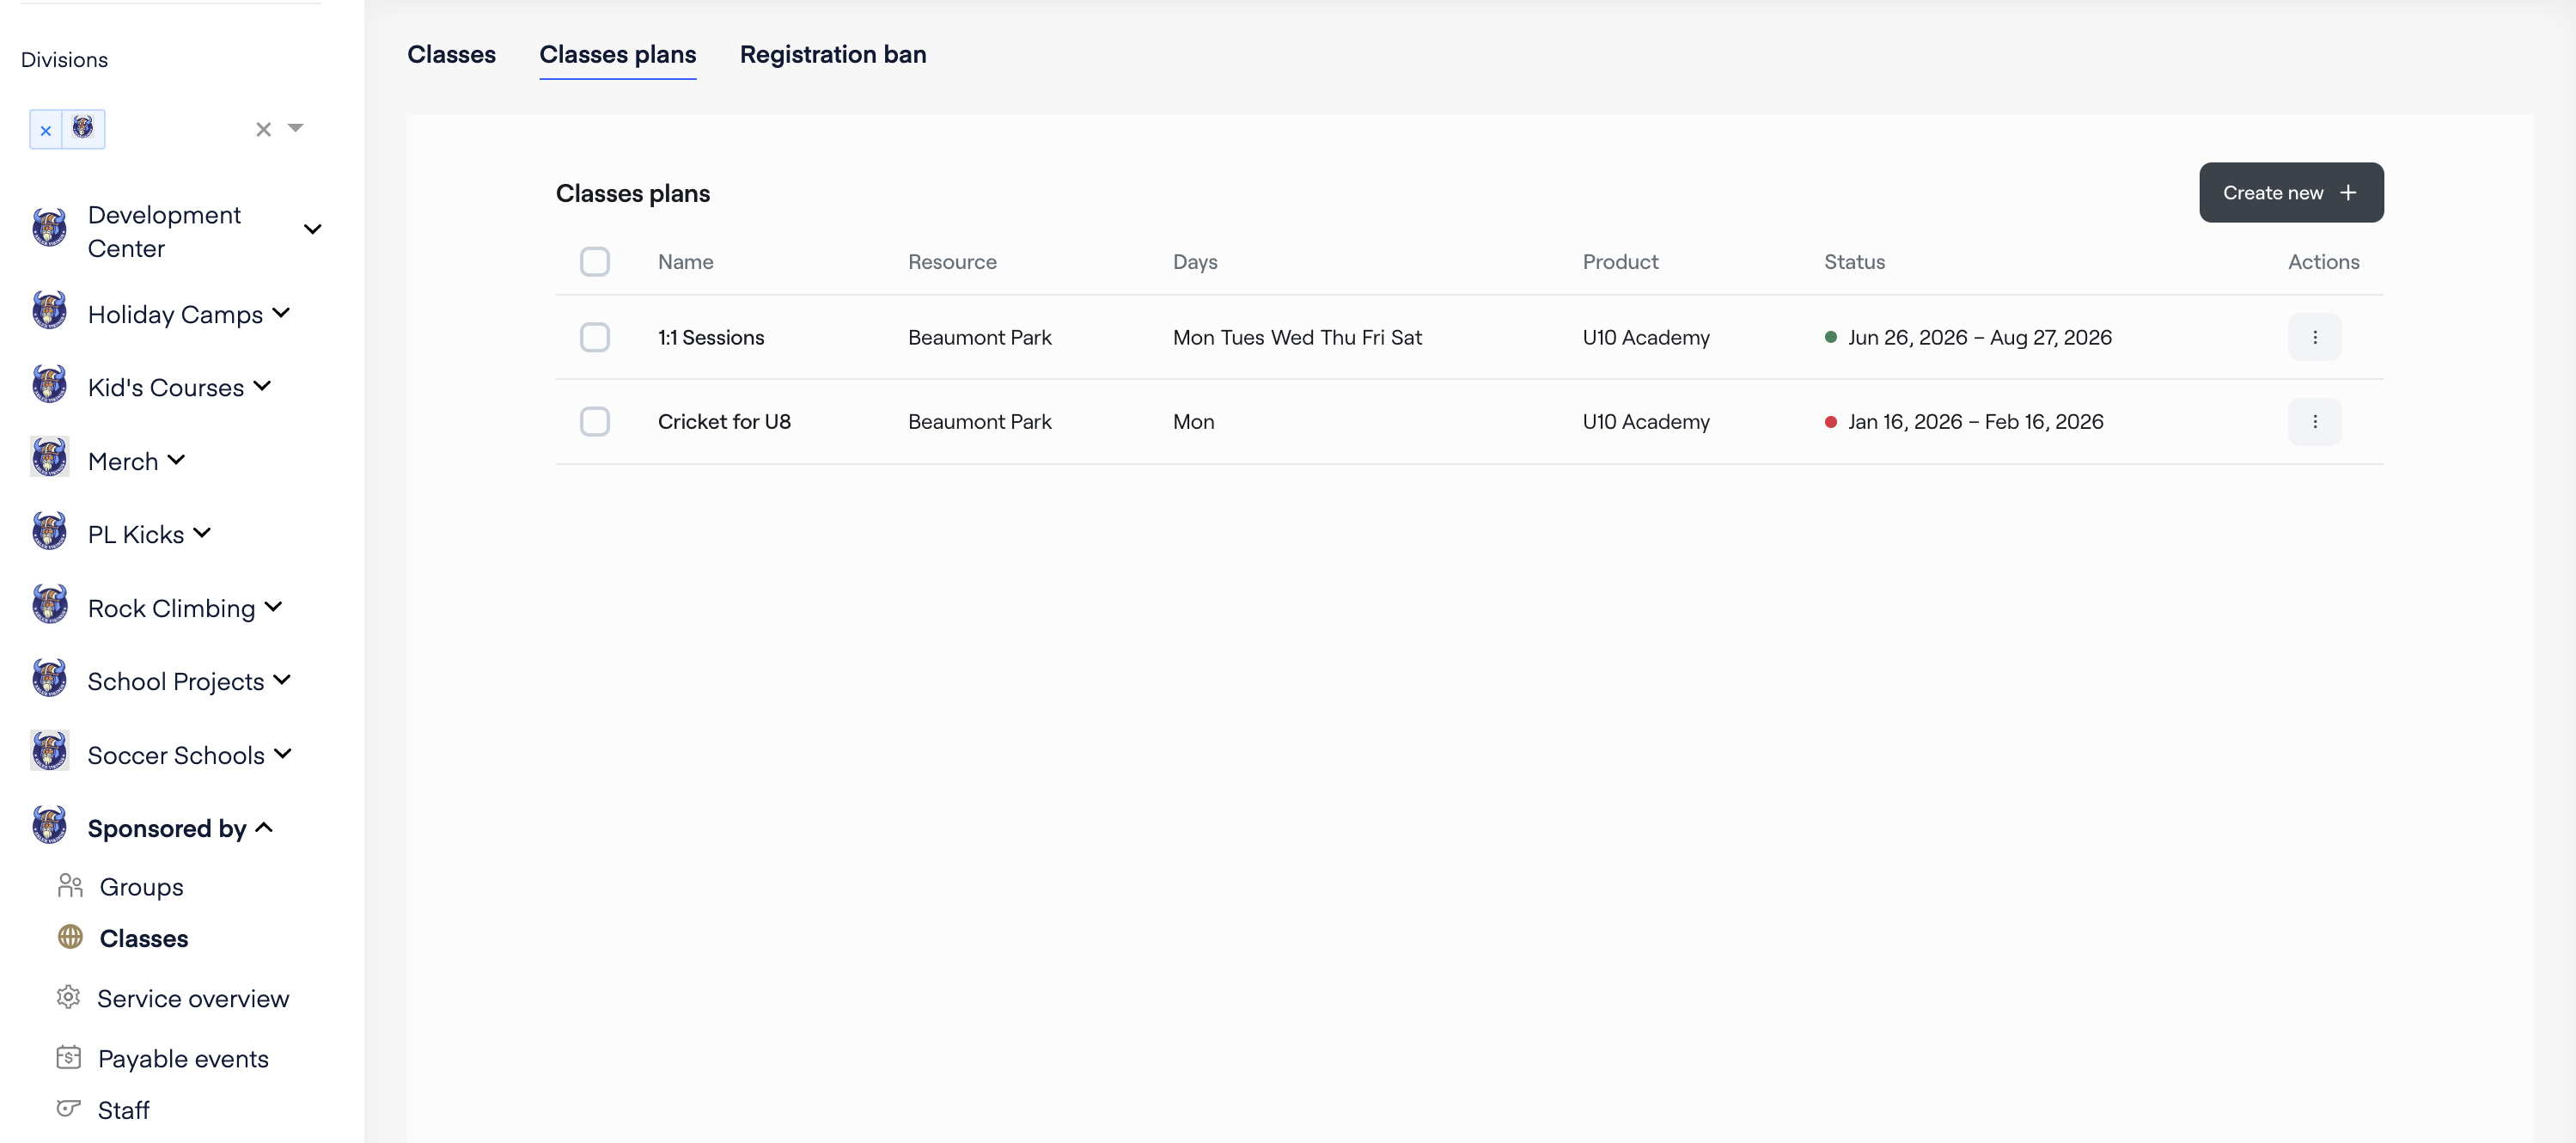
Navigate to Classes in the left-hand menu and select Classes Plan. Click Create New to start building your schedule.
This is where administrators can create and manage training schedules, classes, and recurring sessions that will be available to members in the app.
Build Your Schedule
A setup form will open where you can enter the details of your classes plan. Once completed, use the calendar to schedule your sessions.
Note: It is important to select the correct access. That allows members only with certain access to book those classes.
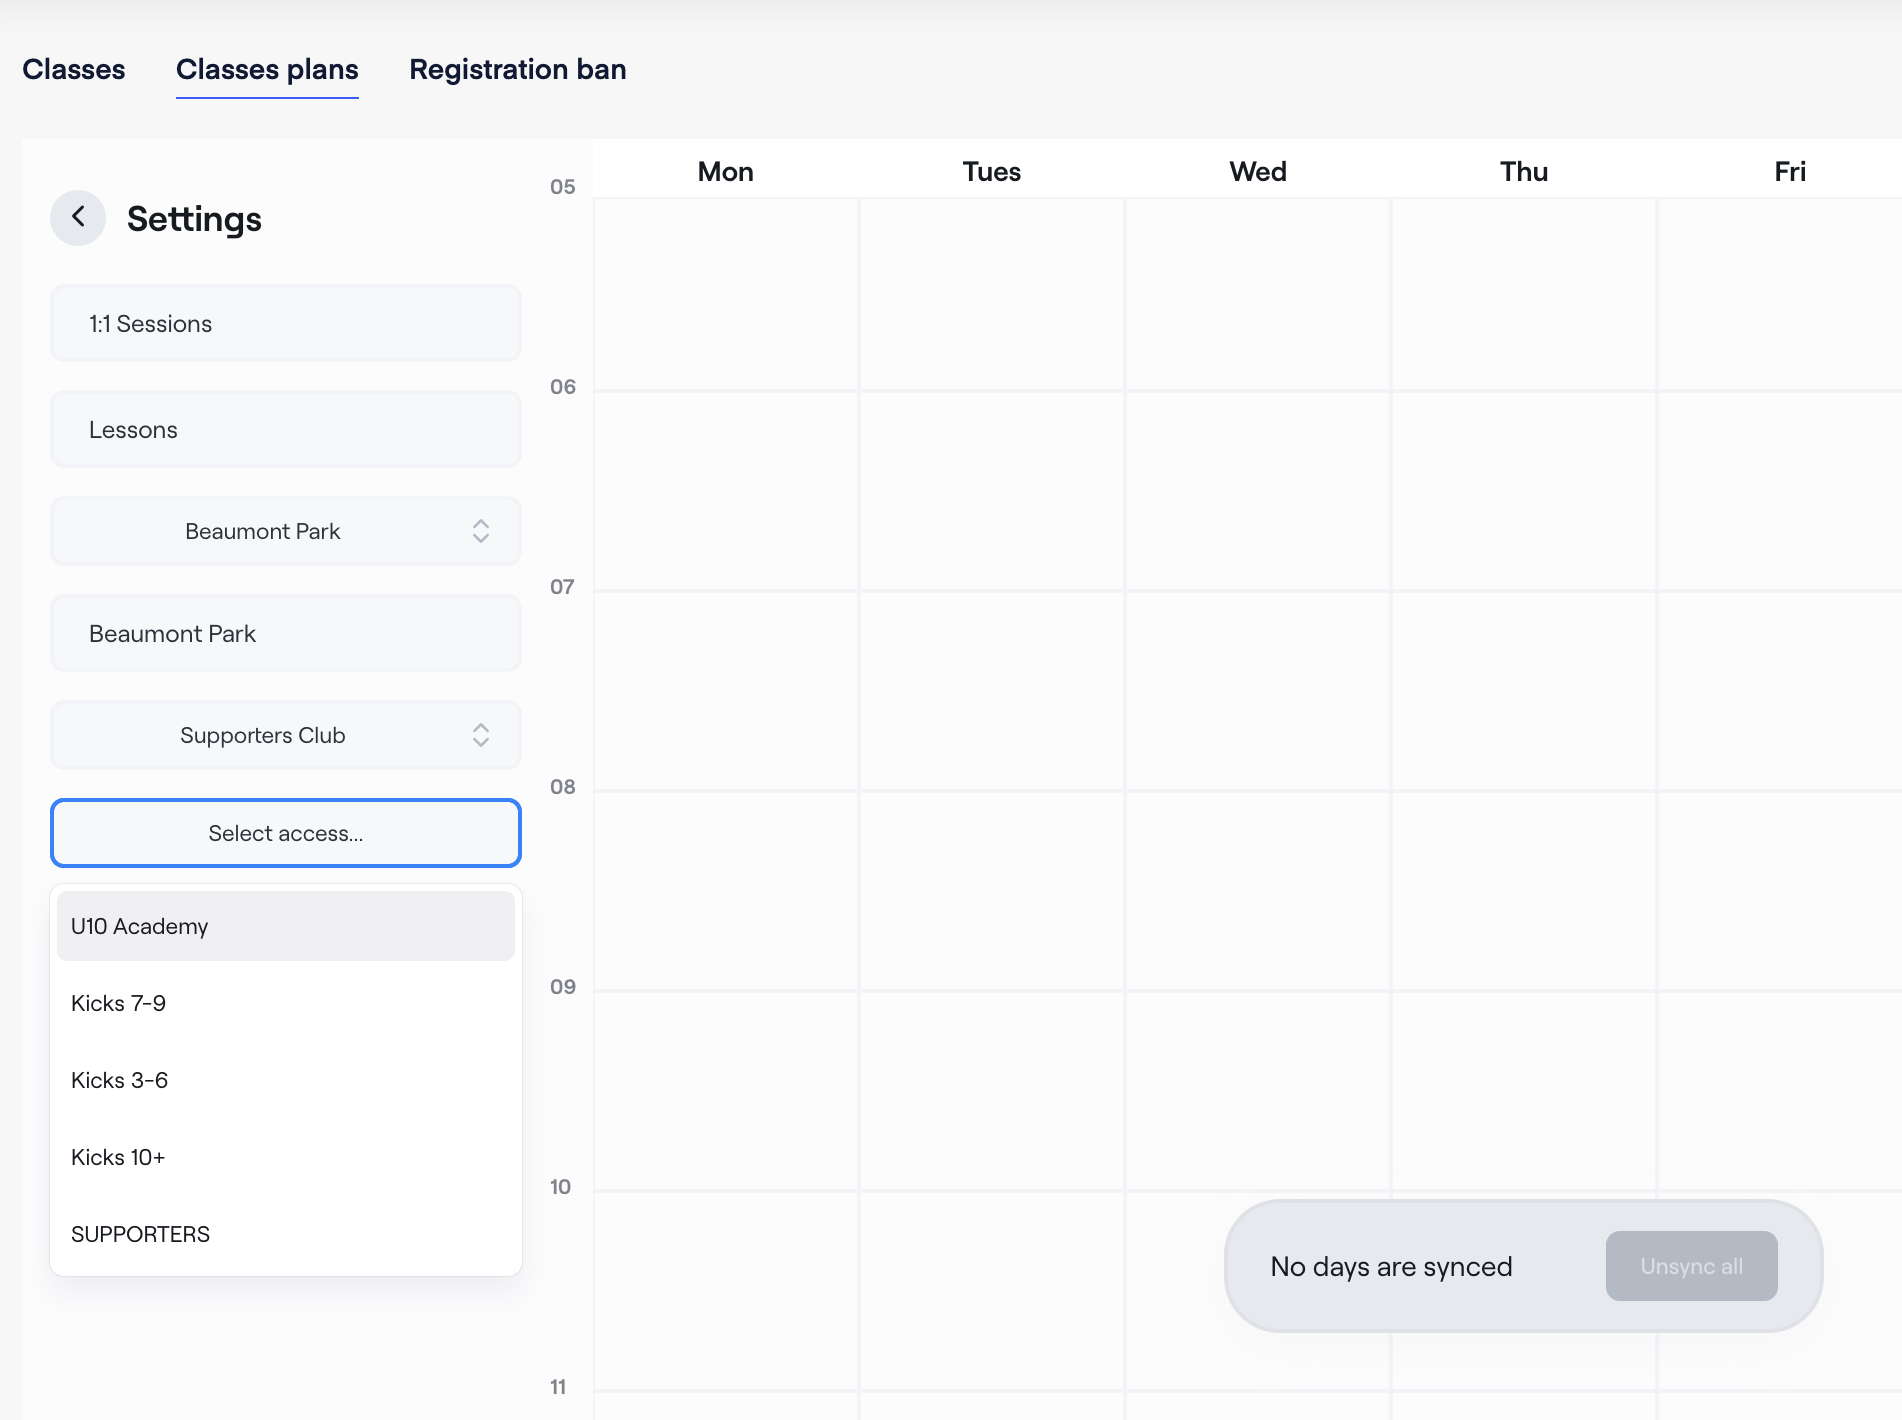
When you click on the calendar, a panel will open on the right-hand side where you can configure:
- Coach or instructor
- Minimum number of participants
- Maximum number of participants
- Registration opening time
- Registration closing time
Time-Saving Tips
- Hold down the Shift key while clicking on a session to quickly create identical sessions elsewhere in the calendar.
- Existing sessions can be moved by dragging and dropping them to a new date or time.
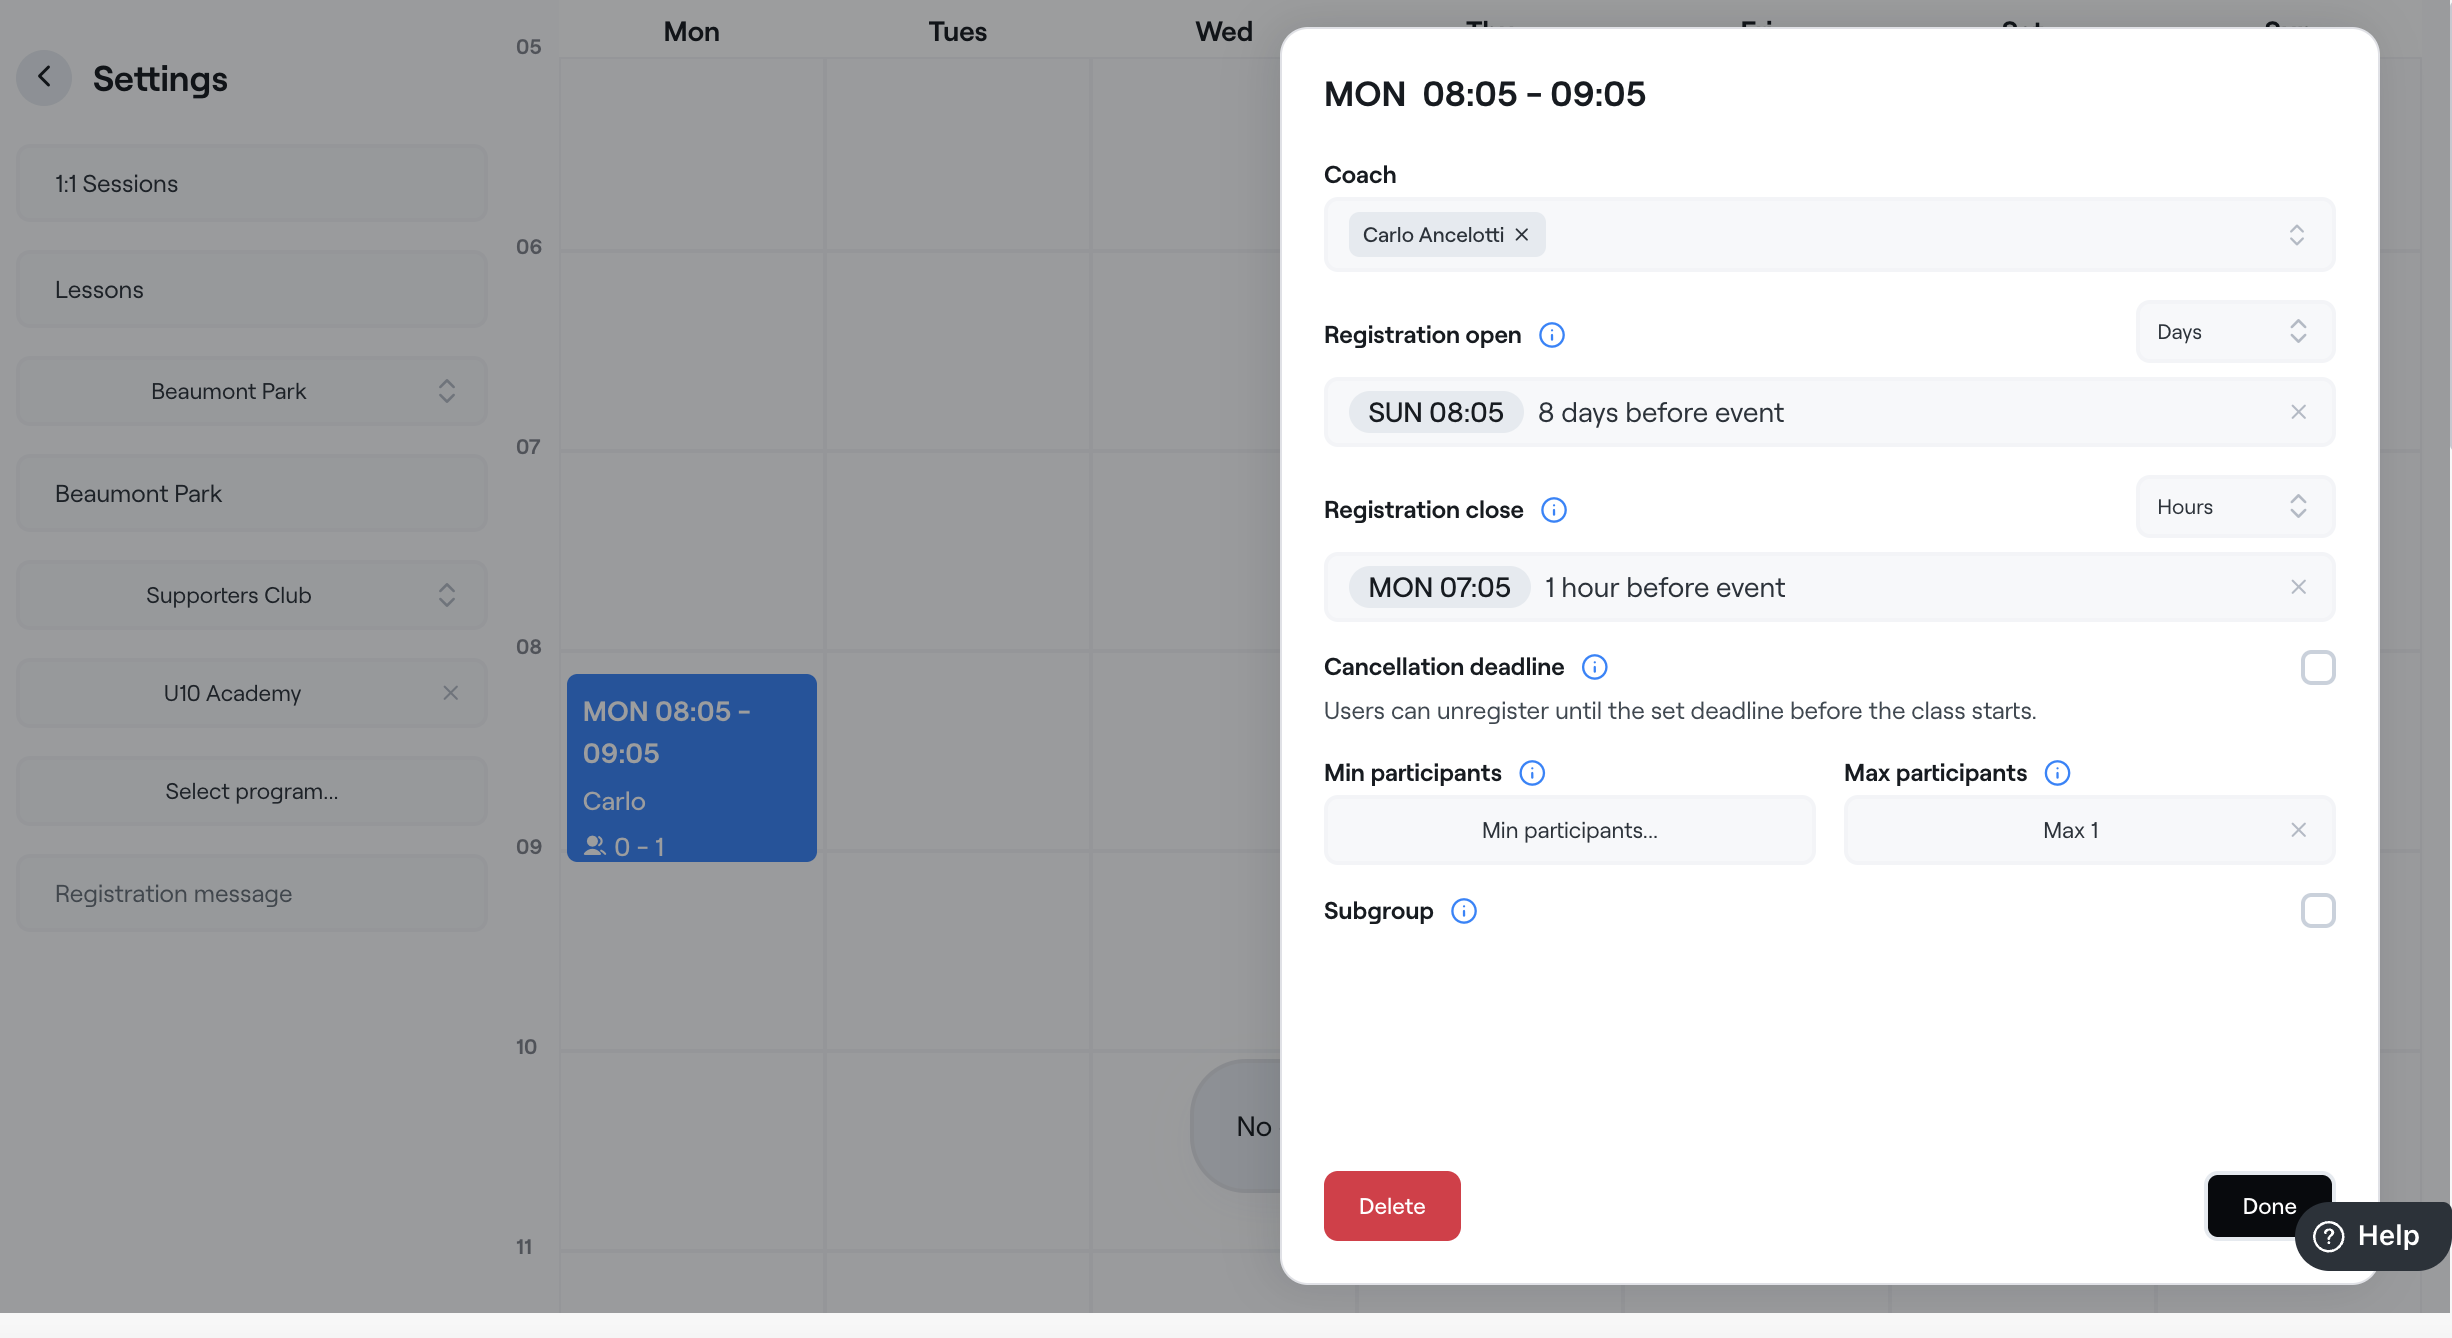
Once your schedule is complete, click Done.
3. Select the Schedule Period
After saving the classes plan, you will be prompted to select the start date and end date for the schedule.
This determines the period during which sessions will be generated and made available for booking.
4. Generate the Schedule
A confirmation window will appear displaying the details of the schedule.
Click Confirm & Generate to create all scheduled sessions.
Once generated, the sessions will automatically appear in the Classes tab of the Abler app. Members with the appropriate access can browse available classes, view session details, and book their place directly from the app.